
Video playback issues like dropped frames and stuttering are among the most common frustrations for users in live production environments. Whether you’re running lyrics, worship backgrounds, countdown timers, or media-heavy presentations, smooth video playback isn’t just a luxury—it’s a necessity. When your visuals lag, skip, or appear choppy in ProPresenter, it can disrupt the flow of your event and distract your audience.
In this comprehensive guide, we’ll explore why these issues occur, how to diagnose them, and actionable steps you can take to fix dropped frames and stuttering video in ProPresenter. This article is crafted for worship tech teams, AV professionals, content creators, and enthusiastic hobbyists who want a deeper understanding of the problem and reliable solutions. Let’s dive in.
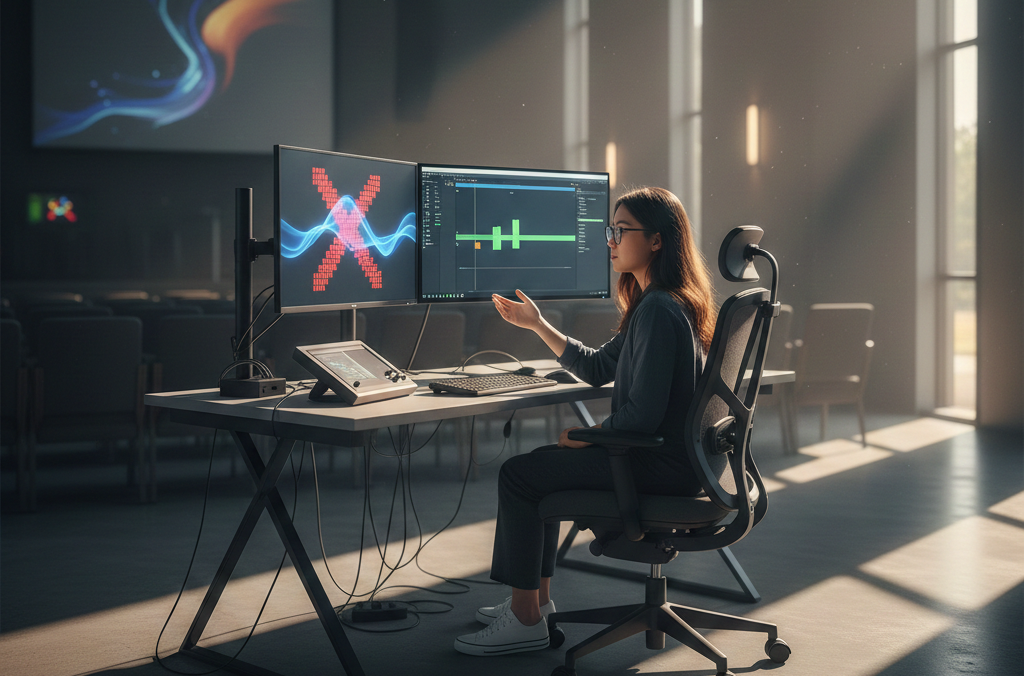
Understanding the Problem: What Causes Dropped Frames and Stuttering?
Video playback problems in any presentation software—including ProPresenter—stem from a mismatch between the video’s demands and the system’s ability to deliver. A “dropped frame” happens when the video fails to maintain its intended frame rate, while stuttering is the perceptible interruption or uneven rendering of motion.
Frames drop when the software can’t process and display each frame in time. This might be due to hardware limitations, inefficient video formats, or system resource contention. Stuttering often feels like “hiccups” or uneven motion in playback, where some frames arrive late or out of sequence.
Why Smooth Video Playback Matters in ProPresenter
Before we troubleshoot, it’s worth understanding why this issue matters:
- Audience Experience: Disruptive visuals break engagement and can make your production feel unpolished.
- Synchronization: Stuttered video may fall out of sync with audio, hurting the rhythm of worship music, countdowns, or background atmospheres.
- Professionalism: Even small glitches can detract from the overall production quality, especially in streaming or broadcast contexts.
Let’s explore how you can systematically fix these problems.
Core Factors Behind Dropped Frames in ProPresenter
Hardware Performance Limits
The most common bottleneck for video playback is hardware capability. ProPresenter relies on both CPU and GPU performance, but in many cases, the GPU (graphics card) plays a key role in decoding and rendering high-resolution video.
Signs of hardware limitations:
- Frequent dropped frames only on high-resolution media (4K or 1080p).
- System-wide lag during playback.
- Elevated CPU or GPU usage during presentations.
Mitigation Steps:
- Upgrade your GPU to one with better video decoding support (e.g., recent NVIDIA or AMD cards).
- Ensure you have adequate RAM (16GB minimum recommended for heavy media).
- Use SSDs (Solid State Drives) for media storage to speed up file access times.
Inefficient or Unsupported Video Formats
Not all video codecs are created equal. ProPresenter performs best with certain codecs and formats, while others can be taxing or incompatible.
Preferred formats:
- Apple ProRes — excellent quality and performance-friendly.
- H.264 (MP4 container) — widely supported and efficient for playback.
- ProPresenter optimized formats — exporting videos specifically for presentation use often yields the best results.
Problematic formats:
- Highly compressed or poorly encoded clips.
- Variable frame rate (VFR) files (e.g., some screen recordings or downloaded clips).
What to do:
- Convert videos to consistent frame rates (e.g., 24 fps, 30 fps) with a tool like HandBrake, Adobe Media Encoder, or FFmpeg.
- Avoid VFR files; use constant frame rate (CFR) when encoding.
Step-by-Step Troubleshooting Checklist
1. Check Your ProPresenter Version
Always ensure you’re running the latest version of ProPresenter. Renewed releases tend to include performance optimizations and fixes for known playback issues. Updating can often solve problems without deeper intervention.
2. Analyze the Video Itself
Before blaming ProPresenter or hardware, inspect the video.
Start here:
- Does the video play smoothly outside of ProPresenter (e.g., QuickTime, VLC, or Windows Media Player)?
- If it stutters elsewhere, the file may be the issue.
Tools to analyze video:
- MediaInfo: Shows codec, frame rate, bitrate, and other details.
- VLC Player: Useful for testing playback.
If the video tests poorly in external players, consider re-encoding it.
3. Optimize Your Media Files
- Re-encode high bitrate videos: Very high bitrates (common in raw exports) can overwhelm presentation systems. Transcode them to a more manageable bitrate and a compatible codec.
- Consistent frame rate: Ensure the frame rate matches the project settings and display expectations. Aim for 30 fps or 60 fps based on your output needs.
- Resolution matching: If you’re presenting on a 1080p screen, there’s no advantage to feeding 4K video unnecessarily. Downscale where possible.
System Settings That Impact Video Playback
Power and Performance Profiles
Your computer’s power settings can throttle performance:
- On Windows, select High Performance in Power Options.
- On Mac, disable any aggressive energy saving that might slow the CPU or GPU.
Throttling can cause inconsistent frame rendering, which manifests as dropped frames or choppy playback.
GPU Acceleration and Drivers
Modern systems benefit from GPU acceleration:
- Update to the latest GPU drivers from NVIDIA, AMD, or Intel.
- In ProPresenter’s preferences, ensure any hardware acceleration options are enabled where appropriate.
Obsolete or generic drivers can severely hamper video decoding capabilities, even on high-end hardware.
Display Configuration and External Monitors
Video output often spans multiple displays—confidence monitors, projectors, LED walls, and operator screens. Complex display setups can introduce additional load, especially if displays have different resolutions or refresh rates.
Tips for Multi-Display Setups
- Match the resolution and refresh rate of all displays where possible.
- Use mirrored displays only when necessary; extended desktops can give more flexibility and lessen processing overhead.
- Avoid stretching or scaling between vastly different resolutions during live playback.
Advanced Techniques for ProPresenter Users
Preload Media and Use RAM Caching
ProPresenter allows you to preload media into RAM for smoother playback. This can reduce disk access time and cut down on performance spikes.
Best practices:
- Preload shorter clips or frequently used media.
- Avoid preloading multiple large files at once if system RAM is limited.
Use Dedicated Video Output Cards
In pro AV setups, it’s common to use dedicated video output cards (e.g., Blackmagic Design, AJA) for display feeds. These cards relieve the main GPU and can dramatically improve playback reliability.
Benefits include:
- Hardware-level video processing.
- Independent output paths for confidence and main displays.
- High-quality scaling and timing control.
Timecode and Synced Playback
In worship environments or multi-source productions, synchronized playback across multiple systems (e.g., lighting, audio, projection) may use timecode systems. Improperly configured timecode can result in stutters if ProPresenter waits for timing cues.
Advice:
- Ensure your timeline settings match your external timecode generator.
- Test synced playback thoroughly prior to live events.
ProPresenter Settings You Should Know
Playback Processing Options
Within ProPresenter’s Playback settings, you’ll find options that influence how media is handled. These might include:
- Hardware vs. software decoding preferences.
- Output optimization toggles.
- Background media handling strategies.
Adjust these settings with care and test different configurations to see what yields the smoothest playback on your system.
Performance Logs and Metrics
ProPresenter can generate performance logs that help diagnose playback problems. These logs provide insight into dropped frames, CPU/GPU usage, and other metrics that reveal bottlenecks.
How to use performance logs:
- Enable logging in preferences.
- Run the problematic media or sequence.
- Review the logs for consistent patterns (e.g., consistent frame drops at specific timestamps).
Use this data to guide troubleshooting.
Network and Streaming Considerations
If your playback issues occur during live streaming or remote presentation:
Bandwidth Constraints
Streaming introduces network dependencies. High bitrate media combined with limited upload speeds can contribute to stuttered playback.
What to check:
- Your internet upload bandwidth.
- Encoder settings and bitrate caps.
- Whether the video is being streamed and displayed simultaneously.
In many workflows, sending a separate low-latency stream to the display system can help isolate playback from streaming demands.
Local vs. Network-Hosted Media
Playing media off a network share (NAS or cloud) can introduce latency:
- Always copy media locally to the machine running ProPresenter.
- Ensure fast local storage (SSD preferred) to eliminate network latency.
Testing Protocols and Pre-Event Rehearsals
Many playback issues are revealed only under pressure—during the live moment. A disciplined testing protocol can prevent surprises.
Pre-Event Checklist
- Run full sequence of media in the actual output environment.
- Test on all displays and output devices.
- Measure performance with the exact hardware and configurations you’ll use live.
Rehearsals aren’t just about content flow; they’re about performance certainty.
Common Myths Debunked
Let’s tackle a few misconceptions that could lead you down the wrong troubleshooting path.
“Higher Resolution Always Means Better Quality”
Not in live playback. A 4K video played at 1080p output introduces unnecessary compression overhead and can choke your system.
Better: Match your media resolution to your output needs.
“More Frames Per Second = Smoother Playback”
Only if your hardware can sustain it. Pushing 60 fps on a system designed for 30 fps output can produce more stutter, not less.
Better: Balance frame rate with system capability.
“Streaming Performance Reflects Local Playback Quality”
Not always. Network conditions are separate variables. A local playback problem persists even without streaming, signaling an internal performance issue.
When to Seek Professional Support
If you’ve exhausted the above strategies and still face persistent problems, it may be time to involve:
- ProPresenter support (official troubleshooting help and patches).
- A/V integrators (for hardware configuration and optimization).
- Network specialists (if your issue involves shared storage or streaming architecture).
Sometimes, the root issue is subtle—like an incompatible driver version or a configuration clash—requiring expert examination.
Brief Comparison: ProPresenter Video Playback vs. Other Platforms
While ProPresenter is designed for reliability in worship and live settings, it differs slightly from video editing or media playback applications:
| Feature | ProPresenter | Dedicated Media Player | Video Editing Software |
|---|---|---|---|
| Live Playback Optimization | High | Moderate | Low |
| Real-Time Rendering | Yes | No | Yes |
| Graphics Integration | Built-in | External | Not prioritized |
| Output Flexibility | Very High | Low | Variable |
| Live Sync Support | Yes | No | No |
Understanding ProPresenter’s strengths—and its unique challenges—helps guide better media preparation and playback strategy.
Summary: Proven Steps to Fix Dropped Frames and Stuttering
Here’s a quick summary of the key actions that solve most issues:
- Update ProPresenter and all drivers.
- Use recommended codecs and constant frame rates.
- Optimize media resolution and bitrate.
- Ensure your hardware meets performance needs.
- Adjust system power and display settings.
- Preload media when appropriate.
- Use dedicated output hardware for better reliability.
- Test thoroughly before live events.
These principles apply across ProPresenter versions, hardware configurations, and performance budgets.
Conclusion
Troubleshooting dropped frames and stuttering video in ProPresenter may seem technical at first glance, but with a methodical approach, you can identify and fix the underlying causes. From optimizing your media files and system configuration to leveraging hardware acceleration and rehearsing in advance, this guide provides a roadmap to confident, professional playback. If you take one thing away from this article, let it be this: Preparation and optimization prevent performance problems. Whether you’re leading worship, hosting a live event, or presenting creative media, smooth visuals enhance every moment of your audience’s experience.