
ProPresenter is a powerful presentation software used in houses of worship, corporate events, conferences, and live productions. Its ability to send different content to multiple displays such as stage screens, audience screens, and confidence monitors makes it indispensable for complex setups. But when display issues arise, it can disrupt your entire presentation flow.
If you’re facing problems with multiple screens not showing the right content, flickering, black screens, or resolution mismatches, you’re not alone. This article walks you step-by-step through diagnosing and fixing ProPresenter display issues, with practical tips tailored to both beginners and seasoned users.
Getting multiple displays to work reliably with ProPresenter involves understanding how displays are configured at both the operating system level and within ProPresenter itself. When either side is misaligned, the result can be confusing output or no output at all. Fortunately, many common issues stem from configuration errors, outdated drivers, or mismatches between screen resolutions and ProPresenter settings. Let’s explore all of these in depth.
Understanding How ProPresenter Handles Multiple Displays
What “Multiple Screens” Means in ProPresenter
ProPresenter uses different kinds of screens:
- Primary Output: The screen where you edit and control your presentation.
- Secondary Outputs: Additional screens that can show lyrics, slides, clocks, or other content.
- Stage Display: A view designed for presenters with cues, timers, and upcoming slides.
- Audience Screens: What your audience sees—from projectors to LED walls.
ProPresenter calls these Screens and Displays, and the key is configuring them correctly.
Why Multiple Screen Issues Happen
Display problems usually stem from one or more of the following:
- Misconfigured display order or arrangement in macOS/Windows
- Wrong resolution or refresh rate settings
- Dead or incompatible cables/adapters
- Graphics card driver issues
- ProPresenter screen settings not matching physical outputs
Understanding these root causes makes troubleshooting more structured and less frustrating.
Step-by-Step Troubleshooting
Before diving into complex configurations, follow a logical troubleshooting sequence. This ensures you isolate the problem progressively.
1. Check Physical Connections
Inspect Cables and Adapters
Start with the basics:
- Ensure HDMI/DisplayPort/SDI cables are securely connected to the correct outputs.
- If using adapters (e.g., USB-C to HDMI), verify they support video.
- Swap cables to eliminate faulty hardware.
One bad cable can make a perfectly good setup look broken.
Verify Displays Are Powered On & Set to Correct Input
Many displays have multiple input sources (HDMI 1, HDMI 2, DP). Make sure the display is set to the correct one.
If a projector stays on HDMI 2 while your computer is on HDMI 1, you’ll see a blank screen even though everything is connected.
2. Set Up Displays Correctly At the OS Level
ProPresenter relies on your computer’s operating system to “see” all connected screens. If the system doesn’t detect a display, ProPresenter can’t use it.
On macOS
- Open System Settings > Displays.
- Click Detect Displays if screens don’t show up.
- Set the main display and arrange additional screens logically.
- Adjust resolutions so displays use native resolutions when possible.
- Ensure mirrored vs extended display modes are set appropriately.
Extended mode is typical for multiple outputs, where each screen can show different content.
On Windows
(If using ProPresenter on Windows)
- Go to Settings > System > Display.
- Click Detect if any screens do not appear.
- Make sure displays are set to Extend these displays unless you specifically want mirroring.
- Drag display icons to match your physical setup.
- Adjust resolution and scaling for each display.
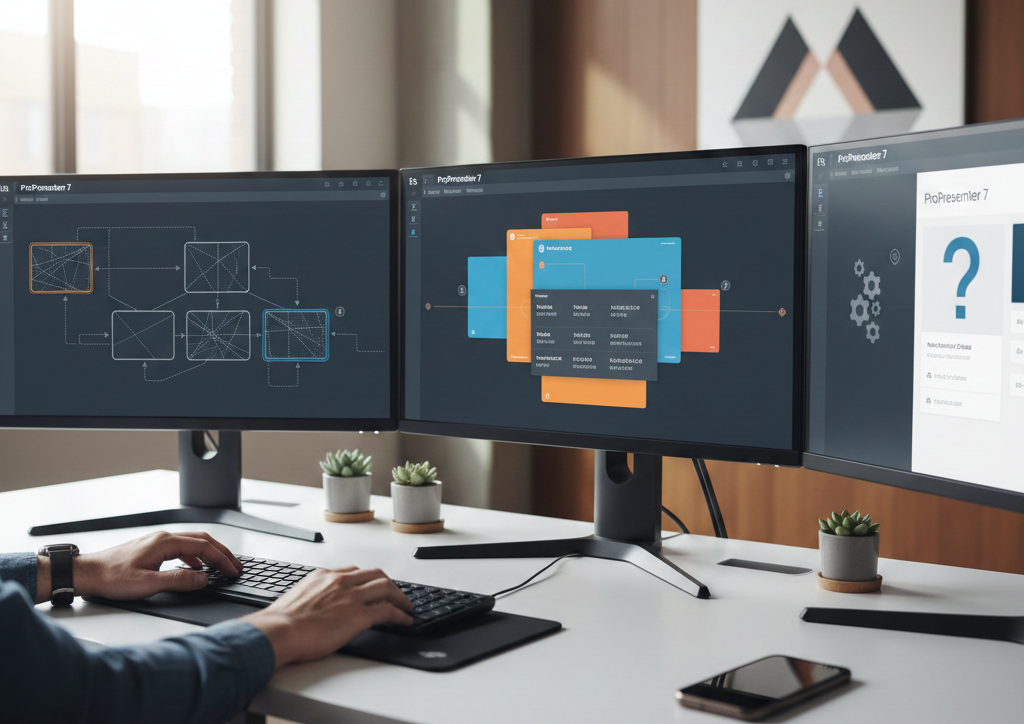
3. Configure Displays Inside ProPresenter
Once your OS sees all displays, you need to map them correctly in ProPresenter.
Accessing Screen Setup
- In ProPresenter, go to Screens > Configure Screens (or similar path depending on your version).
- You’ll see previews of all available outputs.
Assigning Content to Screens
Each screen can show different types of content:
- Choose the Template (Slide + Video, Video Only, etc.).
- Assign the proper screen to the correct output.
- If you have a stage display, configure its layout separately (timers, next cues, etc.).
Matching Output to Display
ProPresenter’s Screen Output must match the physical port on your computer. For instance, if your HDMI port drives your projector, make sure that port is selected for the audience screen.
4. Fix Common Display Issues
Once screens are connected and configured, let’s tackle specific issues you may encounter.
Black Screens or No Output
Why It Happens
- Display is powered off or on the wrong input
- Display not detected by OS
- Output not assigned in ProPresenter
How to Fix
- Check physical connections and inputs.
- Confirm detection in the OS display settings.
- In ProPresenter, ensure correct output assignment.
If necessary, swap cables to rule out faulty hardware.
Flickering or Unstable Images
Likely Causes
- Incompatible refresh rates between displays and GPU
- Loose connectors
- Software or driver issues
Fix Steps
- Set all displays and GPU refresh rates consistently (e.g., 60 Hz).
- Reseat cables and adapters.
- Update graphics drivers (Windows) or macOS updates.
Flickering often points to an electrical or driver conflict rather than ProPresenter itself.
Wrong Aspect Ratio or Distorted Display
Your projector or LED wall may use a 16:9, 4:3, or another aspect ratio. If the OS or ProPresenter uses the wrong setting, images stretch or letterbox.
How to Correct
- In OS display settings, set the correct native resolution for each screen.
- In ProPresenter, adjust the screen’s aspect ratio setting to match.
Using native resolutions prevents scaling artifacts and distortion.
Content Appears on the Wrong Screen
Common Scenario
You think you configured screens correctly, but the worship lyrics appear on the confidence monitor, or vice versa.
Cause & Fix
This usually happens when screens are mis-ordered in the OS display arrangement.
- Open the OS display settings.
- Drag screens to match physical placement.
- Identify screens by number (most systems show a “1”, “2”, “3”, etc.).
- Then reassign them in ProPresenter’s screen configuration.
This alignment ensures what you think is Screen A really is Screen A inside ProPresenter.
GPU Driver and Compatibility Issues
Outdated or buggy graphics drivers often cause display problems—especially in Windows environments.
Update Graphics Drivers
- Windows: Use the NVIDIA/AMD/Intel driver updater or Windows Update.
- macOS: Updates come through System Settings > General > Software Update.
Keeping drivers current resolves many issues with multiple displays, refresh rates, and color formats.
Advanced Troubleshooting
If basic steps don’t fix the issue, try these deeper solutions.
Use Direct Screen Mapping
In some setups—especially with advanced video processors or switchers—you may want to map outputs manually using device IDs.
ProPresenter’s screen configuration allows assigning screens based on device names recognized by the OS. This is especially useful in multi-GPU machines or complex video routing scenarios.
Reset ProPresenter Preferences
Sometimes corrupted settings cause display glitches.
On macOS:
- Quit ProPresenter.
- Delete preferences from
~/Library/Preferences/. - Relaunch ProPresenter and reconfigure screens.
Note: This resets all settings, so back up first.
Test With a Simple Presentation
Remove variables by testing with a blank or simple presentation.
- Load a blank slide with a colored background.
- Send it to all outputs.
- Verify each output shows the expected color.
This isolates whether the issue is content-specific or display-specific.
Using LED Processors and External Switchers
In professional environments you may use video processors (e.g., Barco, Blackmagic) or switchers.
Best Practices
- Treat the processor input as another display in the OS.
- Ensure EDID (Extended Display Identification Data) is passed correctly.
- Match resolutions/refresh rates between ProPresenter → processor → displays.
Failing to match EDID can cause blank screens or unstable output.
Recent Trends and Tips
4K and High Refresh Displays
Modern projectors and LED walls often use 4K or high refresh rates. These increase bandwidth demands and sometimes require:
- Active adapters
- High-quality cables
- Updated GPU drivers
Ensure your hardware supports the combined resolution and refresh rate.
Wireless Displays and Networked Outputs
Systems like AirPlay or wireless HDMI can add another layer of complexity. They may introduce latency or intermittent connections.
Recommendation:
- Use wired connections when reliability is critical.
- Test wireless links in advance and set fallback options.
Backups & Redundancy
In live events, you can’t afford downtime.
- Have a backup laptop pre-configured.
- Export ProPresenter playlist backups.
- Prepare screenshots of screen configurations.
If a display fails mid-service, you can switch hardware with minimal disruption.
Checklist Before Going Live
To avoid last-minute surprises, use this checklist:
- All displays detected in OS
- Correct resolutions/refresh rates set
- Outputs assigned in ProPresenter
- Cables and adapters double-checked
- Driver/software updates installed
- Test slides verified on all screens
- Backup machine/config exported
A methodical pre-show check saves time and stress.
Conclusion
Fixing ProPresenter display issues with multiple screens is largely about methodical troubleshooting and ensuring alignment between your operating system, ProPresenter settings, and physical hardware. Problems like black screens, flickering, wrong aspect ratios, or misplaced content almost always trace back to either display configuration mismatches or hardware inconsistencies. By following the step-by-step approach outlined above—from checking cables to setting correct resolutions, updating drivers, and configuring screen assignments—you can diagnose and resolve most issues without guesswork.